You don’t need crypto sitting in a wallet to pay someone in USDT. All you need is a way to:
- Pay someone in USDT without buying crypto first and moving it around yourself
- Get it to the right wallet on the first try, since a wrong-network send has no undo button
- Know the rate you’re getting before you commit any money to it
If you have Naira or Cedi in your bank and Breet wallet and the USDT address of the person you want to send USDT to, whether that’s a supplier, a freelancer, or family abroad, you can send USDT in under 10 minutes to them.
How to send USDT to another using Breet
1. Fund your Breet wallet
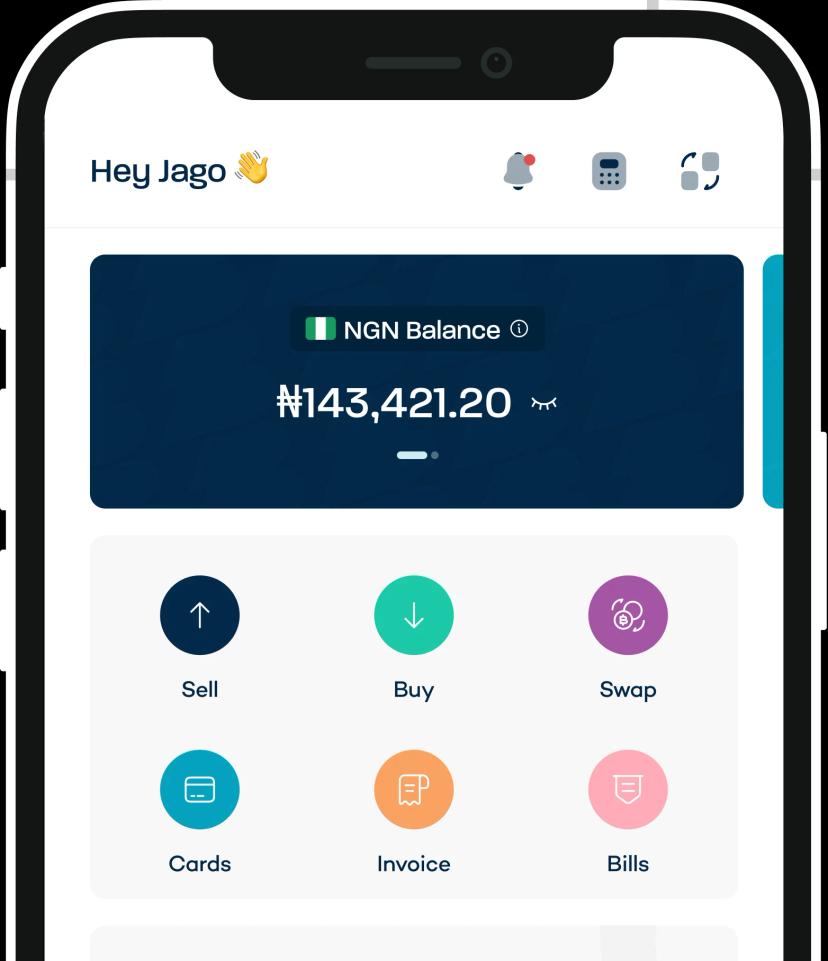
Add money to your Breet wallet the normal way: bank transfer or card, in naira, cedis, or USD. This step needs to happen first, since the buy flow spends from a balance you already hold rather than letting you pay as you go.
2. Open Breet and click “Buy Crypto”
From your dashboard, tap Buy. Enter the naira amount you’re thinking of spending, and the screen shows you the crypto equivalent and the rate behind it immediately, before you’ve committed to anything.
Use that screen before you decide how much to actually fund. If the rate looks off, or the equivalent is smaller than you expected, you’ll know before the money leaves your wallet, not after.
3. Set the destination to wallet address
Under “select destination,” choose wallet address rather than any other option shown. This is the setting that tells Breet the crypto is going out to a specific address, the recipient’s, rather than staying inside your own account.
4. Choose USDT or USDC
Pick whichever coin the recipient actually asked for. Both are dollar-pegged stablecoins, so the amount they receive tracks the dollar regardless of which one you pick, but the two aren’t interchangeable on-chain, so send the one they told you to send.
5. Pick the network your recipient can actually receive
Breet supports four networks for this: ERC20 on Ethereum, TRC20 on Tron, BSC on BNB Smart Chain, and SOL on Solana. Tap each one before deciding, and the fee for that network shows up right there, before you’re locked in.
Pick the network your recipient’s wallet or exchange actually supports, confirmed with them directly if you’re not sure, not whichever fee looks lowest on screen. TRC20 is usually the cheapest of the four if your recipient can receive it there.
6. Enter the wallet address, or scan it
Type in the recipient’s wallet address for the network you picked, or use the scan option to scan their QR code instead, which is the safer of the two when it’s available, since it removes the chance of a copy-paste mistake entirely.
Give the wallet a name too. That’s for your own records, so the next time you send to this same person, you’re picking a saved, named wallet instead of retyping or re-scanning an address from scratch.
7. Review, then confirm
Tap continue, and you’ll land on a review screen showing the amount, the coin, the network, the fee, and the address you entered. Read the address again here, not just the first time you typed it. This screen is the actual checkpoint, the last moment before anything is irreversible.
Confirm, and the purchase is sent straight to the address you entered. From here it’s an on-chain transaction like any other, typically reaching the destination within a few minutes once it’s broadcast.
Know who you’re sending to, and what network their address is on
This is the one part of the whole process that actually decides whether the money arrives. Once you confirm in step 7, there’s no reversal and no support ticket that brings it back, so the network you pick in step 5 and the address you enter in step 6 are worth more care than everything else combined.
Two habits cover most of that risk. Use the scan option instead of typing the address whenever your recipient can show you a QR code, and read the full address again on the review screen, not just when you first entered it.
If it’s your first time sending to this person, or the amount is large, send a small test amount first, confirm they got it, then send the rest. It costs a couple of minutes, and it’s the cheapest insurance against a mistake with no undo button.
Ready to send? Create a Breet account, fund your wallet, and try it with your next transfer.
Frequently asked questions
Do I need to already own crypto to send USDT?
No, and that’s the actual point of this method. You’re buying the USDT with your naira, cedi, or USD balance at the moment you send it, so there’s no separate step where you buy crypto, move it to your own wallet, then send it onward.
What happens if I pick the wrong network?
The transfer can arrive somewhere unrecoverable, or fail to arrive at all, and there’s no reversal once it’s confirmed on-chain. Always confirm with your recipient which network their wallet or exchange actually supports before you pick one on the network-selection screen.
How long does it take to arrive?
Once you confirm, the transaction broadcasts on-chain and typically reaches the destination within a few minutes. If it’s taking noticeably longer, the recipient can check the transaction hash on the relevant block explorer, Tronscan, Etherscan, BscScan, or Solscan, before assuming something’s gone wrong.
What does sending USDT this way cost?
Two things: Breet’s buy rate, shown the moment you enter a naira amount, and the network fee, shown when you select the network. Both are visible before you confirm, so check the screen in front of you rather than any number quoted elsewhere.
Which networks are supported for sending USDT?
Four: ERC20 on Ethereum, TRC20 on Tron, BSC on BNB Smart Chain, and SOL on Solana. TRC20 is usually the cheapest if your recipient can receive it there.